La documentación del producto está disponible solo en inglés.
Your profile and personal settings
Your profile is how the rest of Esqase recognizes you. Your name and photo appear wherever your work shows up, such as on the matters you create, the time you log, the notes you write, and the emails you send. This page shows you how to keep your personal details up to date and points you to the other personal settings that live nearby.
Everything described here is personal to you. Changes affect only your own account, not your firm's settings or any other member's record. You are always allowed to edit your own profile, so you do not need any special role or permission.
Before you begin
- You must be signed in to Esqase with a verified email address. If your email is not yet verified, Esqase asks you to verify it before you can open your account settings.
- These settings live in the firm dashboard (the main Esqase app you use day to day), not in the public client-facing pages.
Tip: If you belong to more than one firm, your profile (your name and photo) is the same everywhere you go. Settings like notifications are tied to the firm you are currently working in.
Opening your account settings
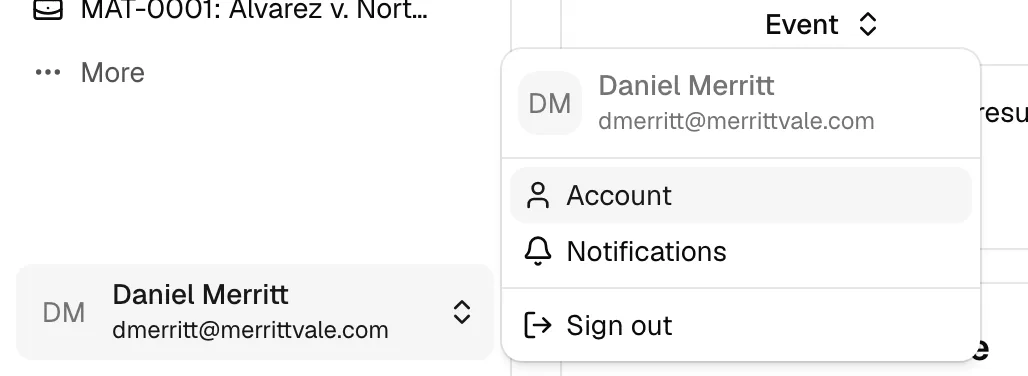
Your personal settings all live under one Account area, reachable from the user menu in the sidebar.
- In the bottom-left corner of the sidebar, click your name and photo. A menu opens.
- Click Account.
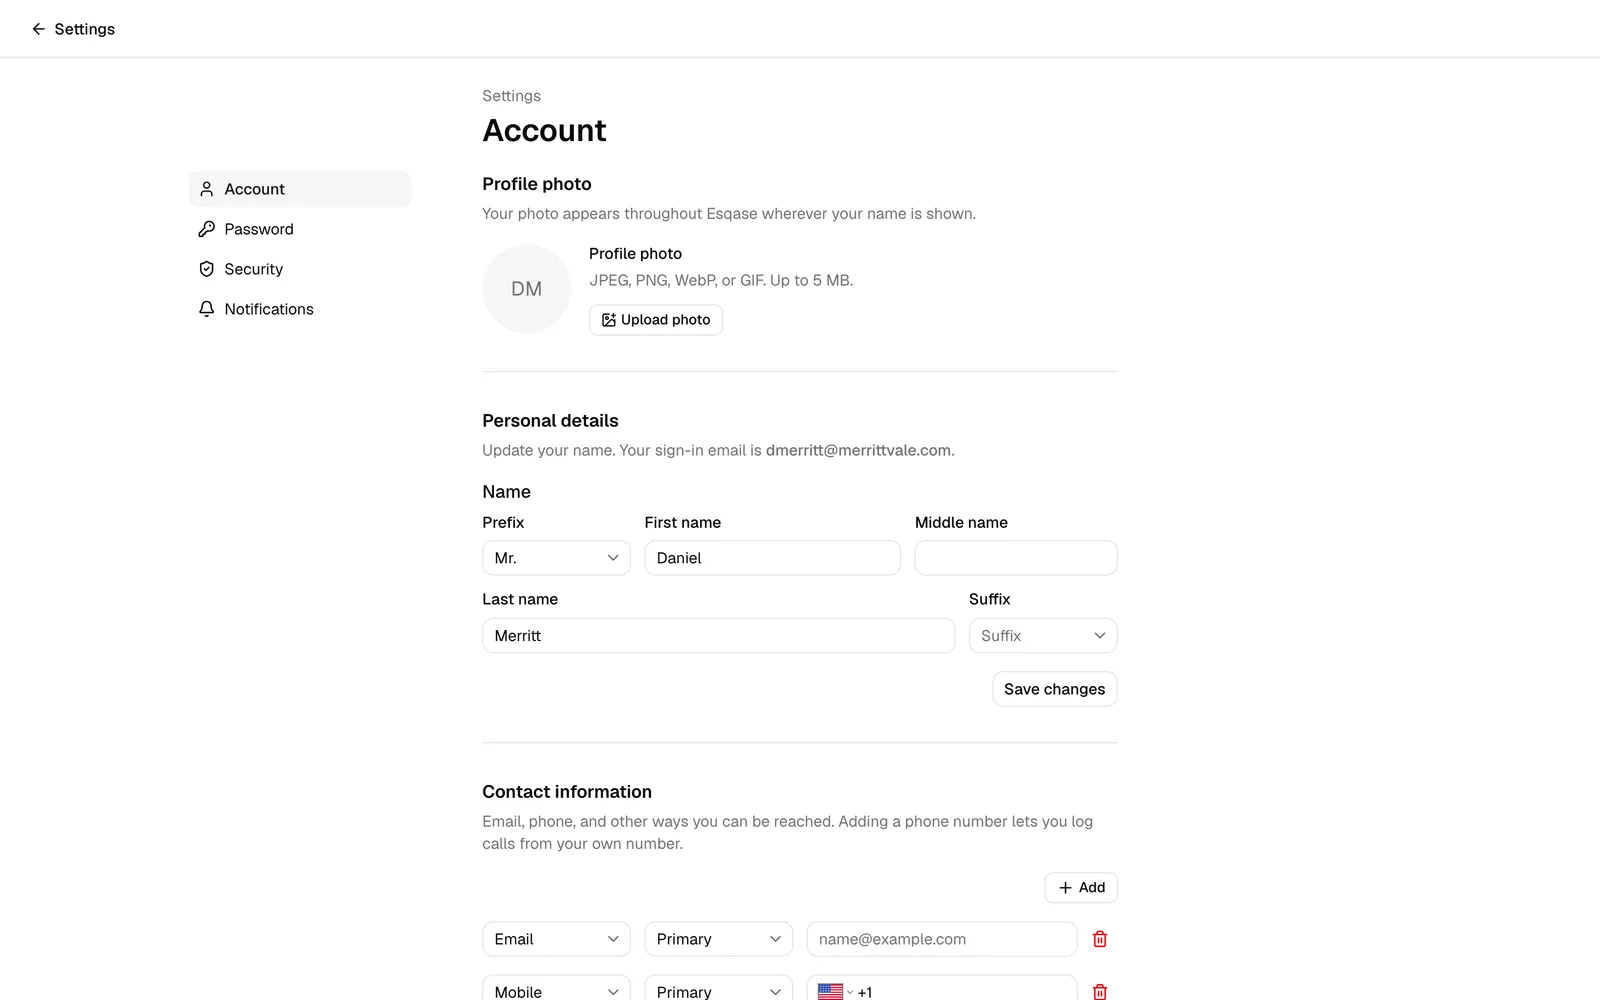
- You land on the Account page. A short navigation list on the left lets you move between the personal settings areas:
- Account (your profile photo, personal details, contact information, and address, covered on this page)
- Password (changing your sign-in password)
- Security (turning on two-factor authentication)
- Notifications (which alerts you receive)
- Integrations (connecting your Google account)
Edit your profile
Your profile is split into the parts of your name. Esqase combines these parts into the display name that appears throughout the app, so you can record titles and honorifics exactly the way you use them professionally.
- In the sidebar user menu, click Account to open the Account page.
- Scroll to the Personal details section. Below the heading, Esqase shows the email address you sign in with. Your sign-in email is set when your account is created and cannot be changed from this page.
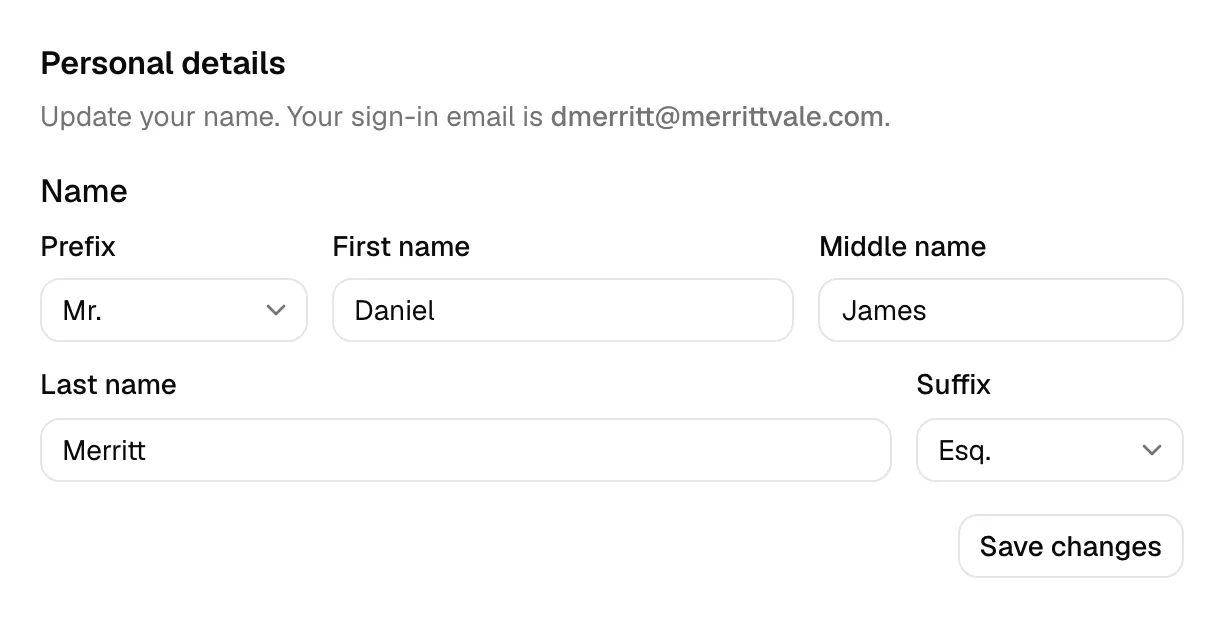
- Under Name, fill in any of the following fields. Every field is optional, so fill in only the ones that apply to you:
- Prefix (the title before your name, such as Mr., Ms., Dr., or Atty.). This is a searchable dropdown. Click it and start typing to filter the list, then pick a value. You can choose from common options such as Mr., Mrs., Ms., Miss, Mx., Dr., Prof., Rev., Hon., Atty., Sir, and more.
- First name (your given name).
- Middle name (your middle name or initial).
- Last name (your family name).
- Suffix (the credential or generational marker after your name, such as Jr., III, Esq., or J.D.). This is also a searchable dropdown. Click it and start typing to filter, then pick a value. Options include Jr., Sr., II, III, IV, Esq., J.D., LL.M., Ph.D., M.D., C.P.A., and more.
- Click Save changes.
When you save, Esqase confirms with a Profile updated message, and your new display name takes effect across the app. Esqase builds your display name by joining the name parts you filled in, in order, so adding a prefix and suffix changes how your name reads everywhere it appears.
Note: The Prefix and Suffix fields are searchable lists. If your exact title is not in the list, pick the closest standard option. The remaining name fields are free text.
Field rules and limits
- First name, Middle name, and Last name each accept up to 100 characters.
- Prefix and Suffix each accept up to 50 characters.
- Leading and trailing spaces are trimmed automatically when you save.
- Leaving a field empty clears that part of your name. For example, removing a previously saved middle name simply drops it from your display name.
Troubleshooting
- The Save changes button shows "Saving..." and is disabled. This is normal while Esqase records your change. It returns to Save changes once finished.
- An error appears at the top of the form. If a field is too long or otherwise invalid, Esqase highlights the field and shows a message asking you to review the highlighted fields. Fix the highlighted field and click Save changes again. If you see a message that your profile could not be updated, wait a moment and try again.
Add your contact information and address
Below Personal details, the Account page has two more sections for your own contact channels and postal address: Contact information and Address. Like the rest of your profile, this information is personal to you and follows you across every firm you belong to. It works the same way your firm's own contact details and addresses are captured on the firm profile page. See Your firm profile and details.
Adding a phone number here has a practical benefit beyond your record: it lets you log phone calls from your own number, and it lets colleagues pick you as a caller on a phone log. See Logging communications.
Contact information
Use this section to list the ways you can be reached, such as an email address or a phone number. You can add as many channels as you need.
- On the Account page, scroll to the Contact information section.
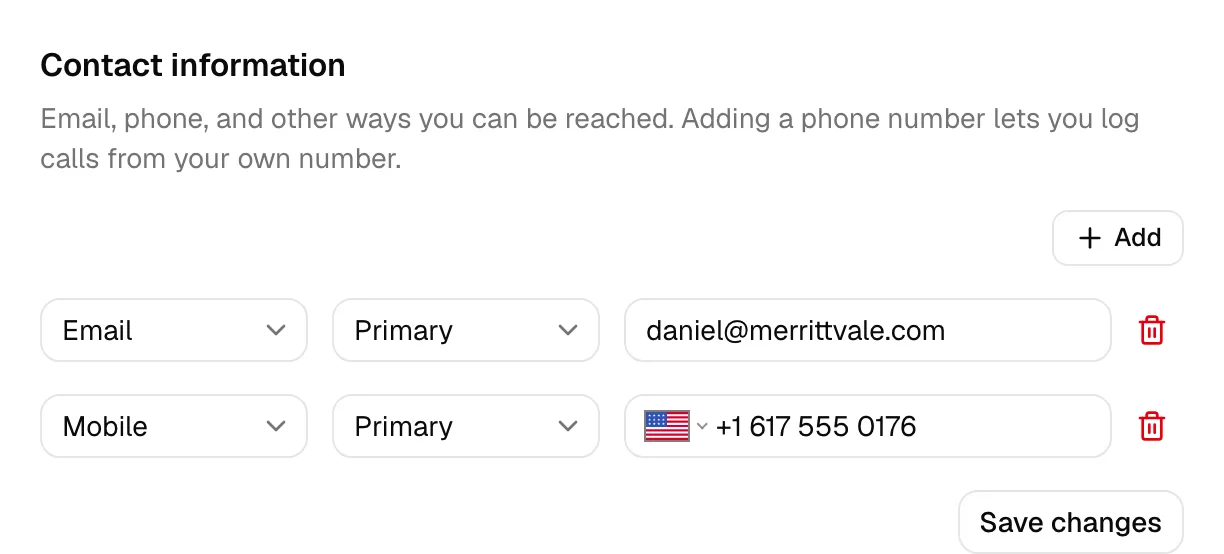
- Click Add to create a new row. Esqase starts you with a couple of empty rows so you can fill them in.
- For each row, choose:
- Type: Email, Mobile, Phone, Fax, Website, Social, Messaging, or Other.
- Label: how you use it, such as Primary, Secondary, Work, Home, Billing, Legal, Support, Emergency, or Other.
- Value: the address or number. When the type is a phone type (Mobile, Phone, or Fax), Esqase shows a phone-number field with a country selector, already set to the country of the firm you are currently working in. You can pick a different country on the row.
- Remove any row you do not need with the trash icon next to it.
- Click Save changes.
Esqase confirms with a Contact information saved message. Saving replaces your whole list with what is on screen, so any row you leave blank is simply dropped, and clearing every row removes your contact information.
Tip: Add a Mobile or Phone number if you want to log calls from your own number. Firm members with a phone number on file can be picked as a caller on a phone log; if you have not added one, you can add yours on the spot from the phone-log dialog. See Logging communications.
Address
Use this section to record one or more postal addresses, such as your mailing or home address.
- On the Account page, scroll to the Address section.
- Click Add to start a new address.
- Fill in the address:
- Label (such as Primary, Home, Work, or Billing) and Country. A new address starts on the country of the firm you are currently working in, and you can change it.
- Street 1, and optionally Street 2.
- City, State/Province, and Postal/ZIP code. When you choose the United States or Canada, the state or province becomes a searchable list; other countries use a free-text field, and the state and postal-code labels adapt to the country you pick.
- Add more addresses with Add, or remove one with its trash icon.
- Click Save changes.
Esqase confirms with an Address saved message. As with contact information, saving replaces your whole list with what is on screen.
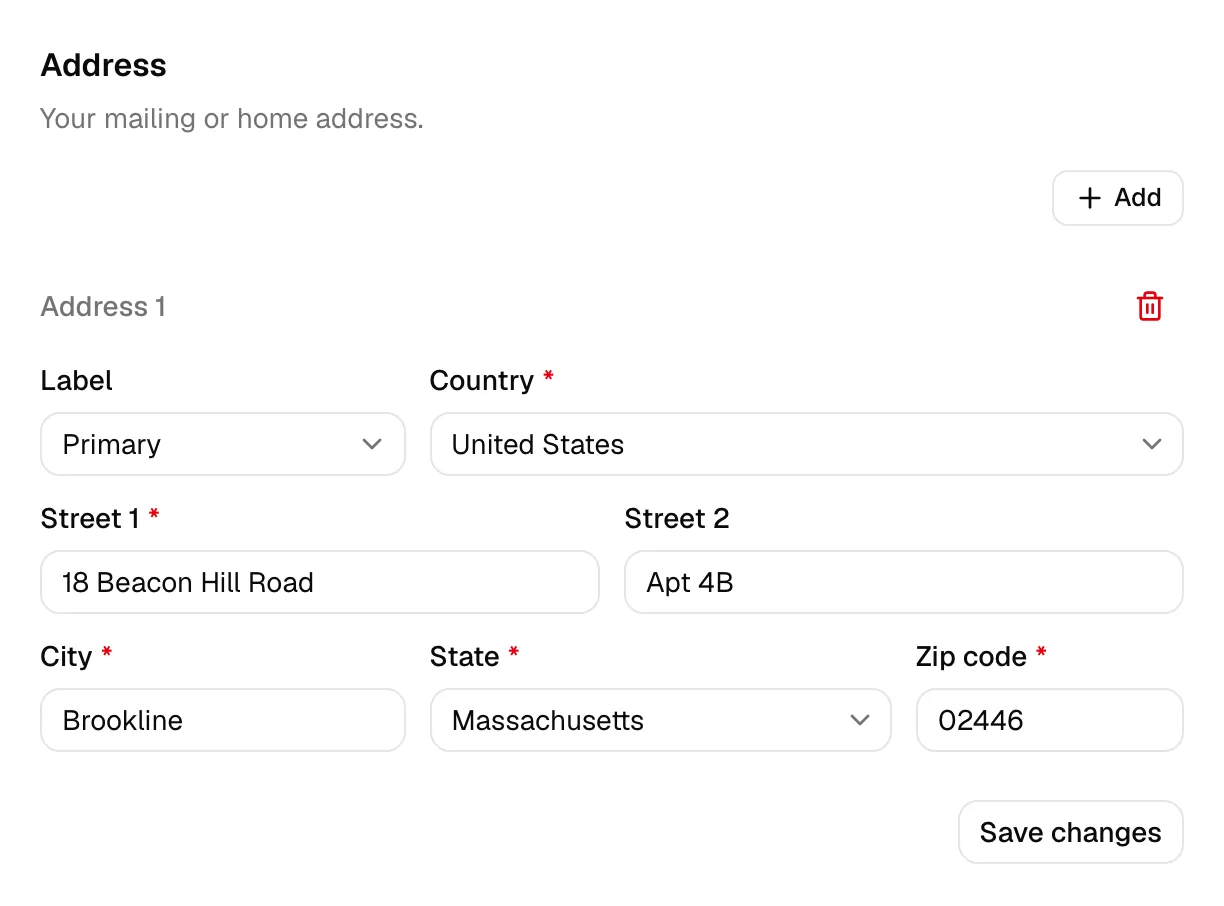
Note: Every field in an address you are saving is required except Street 2. If a field is missing or invalid, Esqase highlights it and asks you to review the highlighted fields before saving.
Note: Your profile is personal and follows you across every firm you belong to, so the country that is preselected here is the one recorded for whichever firm is active in the firm switcher. It only preselects empty fields: a number or address you saved earlier keeps the country you saved it with, and if your active firm has no country recorded, the fields fall back to the United States. See How your firm's country sets phone and address defaults.
Upload or replace your profile photo
Your profile photo appears throughout Esqase wherever your name is shown, including in the sidebar, on records you create, and on emails you send. Adding a recognizable photo makes it easier for your colleagues and clients to identify your work.
- In the sidebar user menu, click Account to open the Account page.
- At the top, find the Profile photo section. It shows your current photo, or your initials in a circle if you have not added one yet.
- Click the button next to the photo:
- If you have no photo yet, the button reads Upload photo.
- If you already have a photo, the button reads Change photo.
- Choose an image file from your device. Esqase accepts JPEG, PNG, WebP, or GIF files up to 5 MB.
- Esqase uploads the file and shows an Uploading photo... message. When it finishes, you see a Profile photo updated confirmation, and the new photo appears immediately.
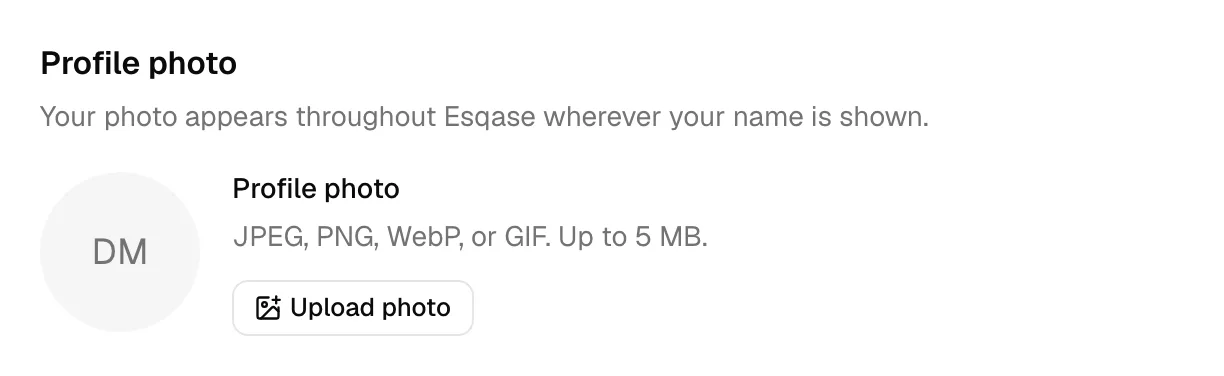
Note: Esqase checks the file format and size when you choose the image. If a file is too large or is not one of the supported formats, the upload is rejected and Esqase asks you to try again with a different file.
Tip: A square image works best, since your photo is displayed in a round frame. A clear, close headshot reads better at small sizes than a wide photo.
Troubleshooting
- The upload fails partway through. If the upload does not complete, Esqase shows an Upload failed. Please try again message and keeps your previous photo. Check your internet connection and try the upload again.
- My photo is not the right format. Convert your image to JPEG, PNG, WebP, or GIF before uploading, and make sure it is under 5 MB.
Secure your account with two-factor authentication
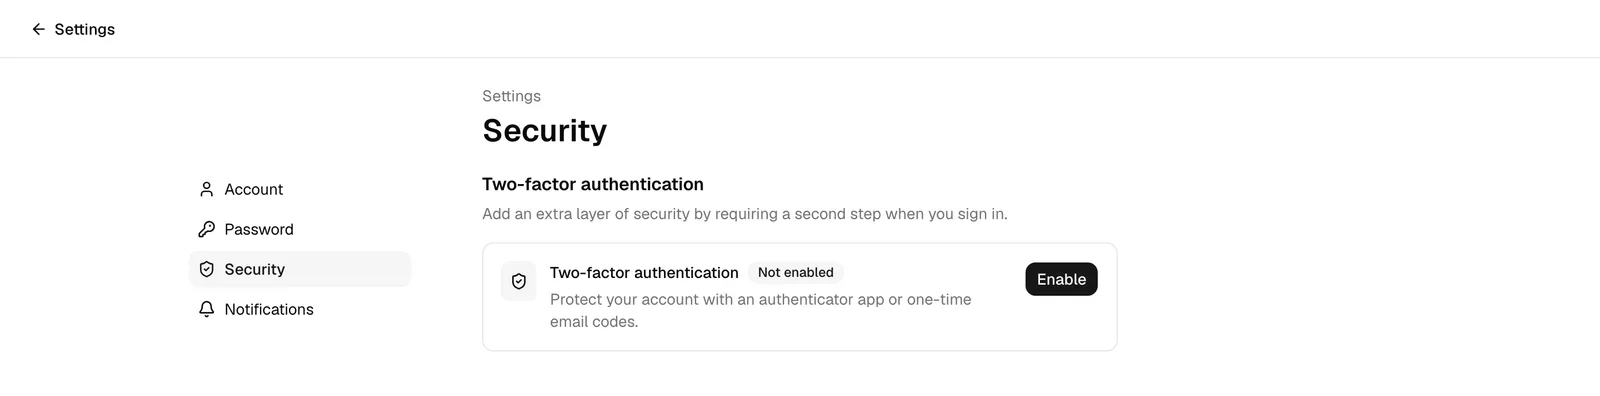
Two-factor authentication (2FA) adds a second step to your sign-in, so a password alone is not enough to reach your account. You turn it on from the Security area of your account settings.
- In the sidebar user menu, click Account to open the Account page.
- In the left navigation list, click Security.
- Click Enable and choose how you want to receive your codes (an authenticator app or email), then complete the verification and save your recovery codes.
For the full walkthrough, including using and regenerating recovery codes, the sign-in challenge, and how a firm owner can require 2FA for everyone, see Two-factor authentication (2FA).
Manage your notification preferences
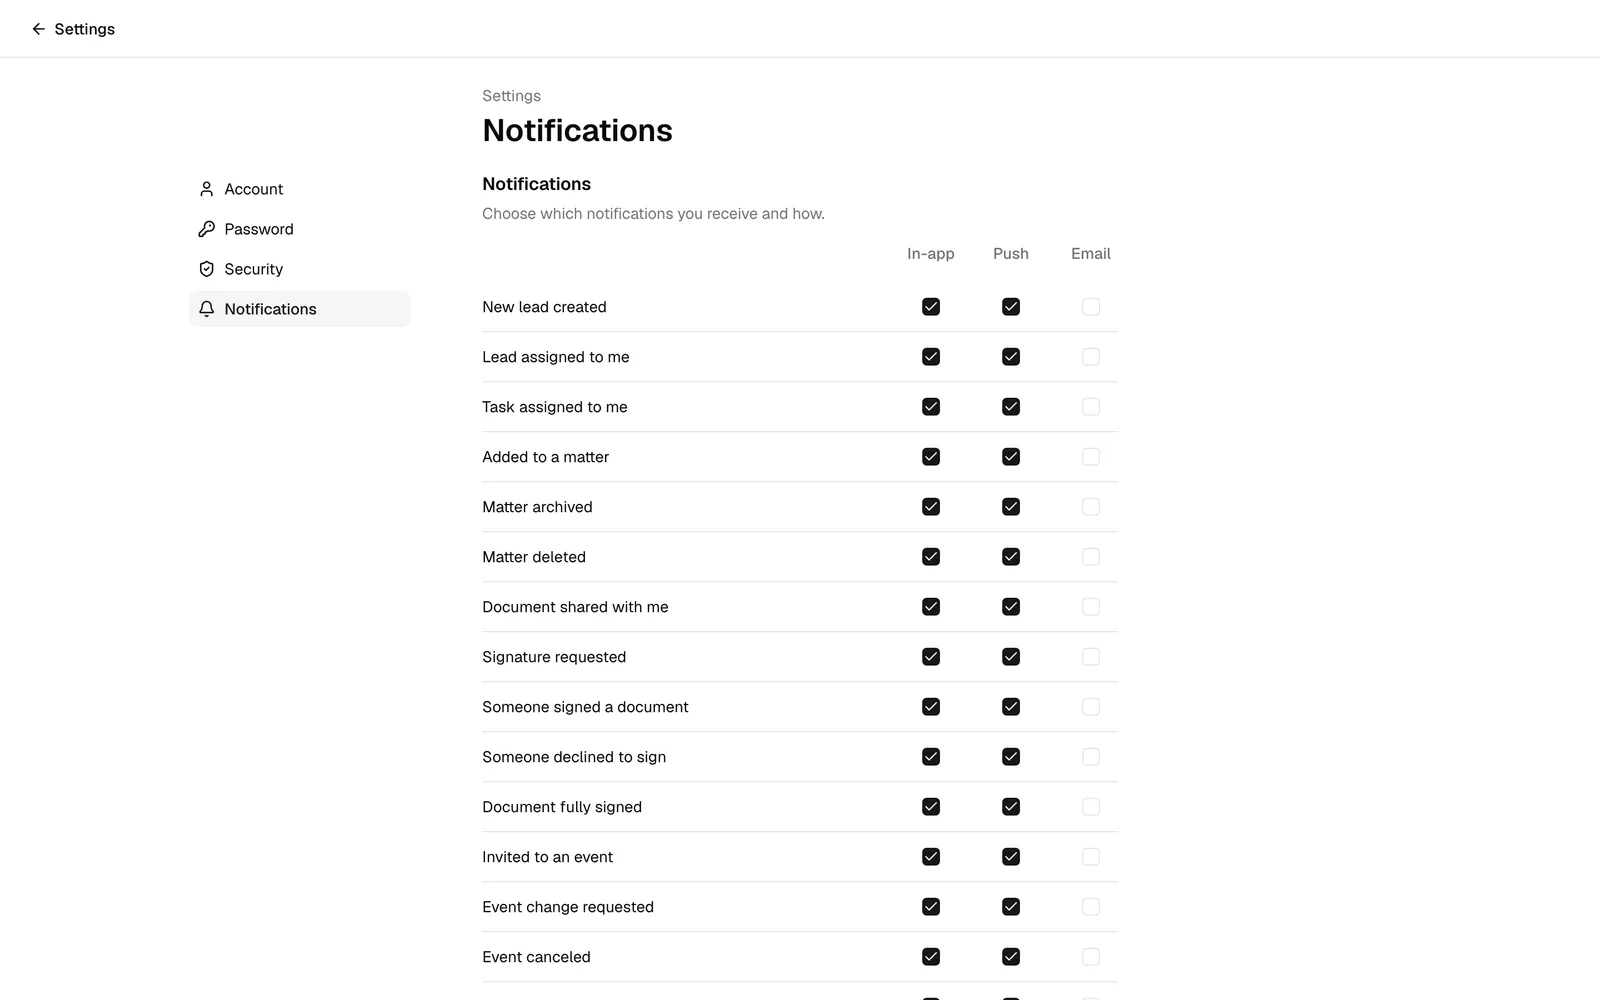
Esqase can alert you when things happen that involve you, such as a task assigned to you or an upcoming event. You control which of these alerts you receive from the Notifications area of your account settings.
- In the sidebar user menu, click Account to open the Account page.
- In the left navigation list, click Notifications.
- Turn individual notification types on or off to match how you want to be reached.
Your notification choices apply to the firm you are currently working in. If you belong to more than one firm, set your preferences separately for each.
For the full walkthrough of every notification type, how delivery works, and how to manage browser and device alerts, see Notifications.
Where your working schedule lives
Your personal working schedule (the days and hours you are available for client meetings and bookings) is not part of your profile settings. It lives with your member record, separate from the firm's default hours.
- To set or adjust your own weekly availability, open your member record and use the My schedule controls there. Your personal schedule, when set, overrides the firm's default hours for you.
- Your firm's default business hours, which apply to members who have not set their own schedule, are managed by firm administrators.
For step-by-step instructions, see Managing firm members for your member record and Setting firm availability for the firm-wide default hours.
Where your Google integrations live
Connecting your Google account lets Esqase send email through Gmail, sync your calendar, and create Google Meet links on your behalf. These connections are personal to you and live in the Integrations area of your account settings, not on this profile page.
- In the sidebar user menu, click Account to open the Account page.
- In the left navigation list, click Integrations.
- From there, you can connect (link) or disconnect (unlink) your Google account for the available services.
For the complete connection walkthrough, including what each Google service unlocks and how to reconnect if access is revoked, see Connecting Google (Gmail, Calendar, Meet) and the broader Integrations overview.
Tip: If you ever change or revoke Esqase's access from your Google account, reconnect it from the Integrations page so features like sending email and calendar sync keep working.
Common questions
- Can I change the email I sign in with? Not from this page. Your sign-in email is shown under Personal details for reference but is set when your account is created. To change your password instead, click Password in the account navigation. See Passwords and account recovery.
- Why don't I see all the navigation items? All members see Account, Password, Security, Notifications, and Integrations. If an item seems missing, make sure you opened the account settings from your user menu rather than the firm settings area.
- Where do I add my phone number? In the Contact information section of the Account page, add a row with a Mobile or Phone type. Once saved, you can be picked as a caller on a phone log. You can also add your number on the spot from the phone-log dialog. See Logging communications.
- Does editing my profile change anything for other people? No. Your profile and personal settings affect only your own account. Firm-wide details are managed separately. See Your firm profile and details.
- Where does my photo show up? Your photo appears throughout Esqase wherever your name is shown, including the sidebar, records you create, and emails you send.